Integration with Jupyter
This tutorial will guide you through the process of integrating WebDataRocks Pivot Table with Jupyter – a web-based interactive application for sharing notebooks with live code, visualizations, text, and other media. As a result, you will get a notebook empowered with a pivot table for interactive data exploration and data analysis.
Prerequisites
Before installing a Jupyter environment, make sure Python is installed on your machine. Jupyter requires Python 3.3 or greater, or Python 2.7.
Next, start using Jupyter in one of the following ways:
- Using Anaconda – an open-source distribution with plenty of pre-installed Python packages for data science and scientific computing.
- Using pip – a Python’s package manager.
- Via a web version of classic Notebook or JupyterLab.
Ways to integrate WebDataRocks with Jupyter
- Integrate WebDataRocks Pivot Table with a new/existing Jupyter application
- Run a Jupyter project with WebDataRocks sample from GitHub
Integrate WebDataRocks Pivot Table into a new/existing Jupyter application
To integrate WebDataRocks Pivot Table with Jupyter, follow the next steps:
Step 1. Start the notebook server. Then, create a new Notebook or open the existing one.
You can start the notebook server in the following ways:
- From the Anaconda Navigator.
- From the command line.
- Using the web version.
Step 2. Import the following Python libraries into the notebook:
IPython.display– an API for display tools in IPython. From this module, import only theHTMLclass for rendering the HTML content in the notebook.json– a module for serializing and de-serializing Python objects.pandas– a library for working with data frames.
from IPython.display import HTML
import json
import pandas as pd
Step 3. Define a function that accepts JSON-formatted string and renders it as a pivot table on the HTML page:
def pivot(webdatarocks_json_object):
   code = '''
     <link href="https://cdn.webdatarocks.com/latest/webdatarocks.min.css" rel="stylesheet"/>
     <script src="https://cdn.webdatarocks.com/latest/webdatarocks.toolbar.min.js"></script>
     <script src="https://cdn.webdatarocks.com/latest/webdatarocks.js"></script>
     <h1>WebDataRocks Integration with Jupyter</h1>
     <div id="pivotContainer"></div>
     <script>
     new WebDataRocks({0});
     </script>
     '''.format(webdatarocks_json_object)
   return HTML(code)
Step 4. Create a pandas DataFrame and fill it with data. The data can come from a CSV/JSON/Excel file, SQL database, or other type of storage. For simplicity, we will use the static inline data:
df = pd.DataFrame(
    [["Apple pie", "20"], ["Lemon cake", "30"]],
    index=["row 1", "row 2"],
    columns=["Product", "Quantity"],
)
Step 5. Convert the DataFrame to a JSON string:
json_data = df.to_json(orient='records')
Note that it’s important to set the orient parameter to 'records'. This way, the object will be translated into a list-like structure: [{column -> value}, … , {column -> value}]. This structure corresponds to the format of a JSON data source accepted by WebDataRocks.
Step 6. Create an instance of WebDataRocks using the dictionary as follows:
webdatarocks = {
    "container": "#pivotContainer",
    "width": "100%",
    "height": 430,
    "toolbar": True,
    "report": {
        "dataSource": {
            "type": "json",
            "data": json.loads(json_data)
        },
        "slice": {
            "rows": [
                {
                    "uniqueName": "Product"
                }
            ],
            "columns": [
                {
                    "uniqueName": "[Measures]"
                }
            ],
            "measures": [
                {
                    "uniqueName": "Quantity",
                    "aggregation": "sum"
                }
            ]
        }
    }
}
Here we have specified the initialization parameters and set the slice. For connecting to a data source, we have decoded JSON using the json.loads() method and set the response to the dataSource.data property of the pivot table.
Step 7. Use json.dumps() to encode the webdatarocks object to a JSON-formatted string.
webdatarocks_json_object = json.dumps(webdatarocks)
Step 8. Pass the JSON-formatted string with the pivot table’s configuration to the previously defined pivot function:
pivot(webdatarocks_json_object)
Step 9. Run the code contained in the notebook’s cells by selecting Run > Run All Cells. You can also run the cells separately, one after another.
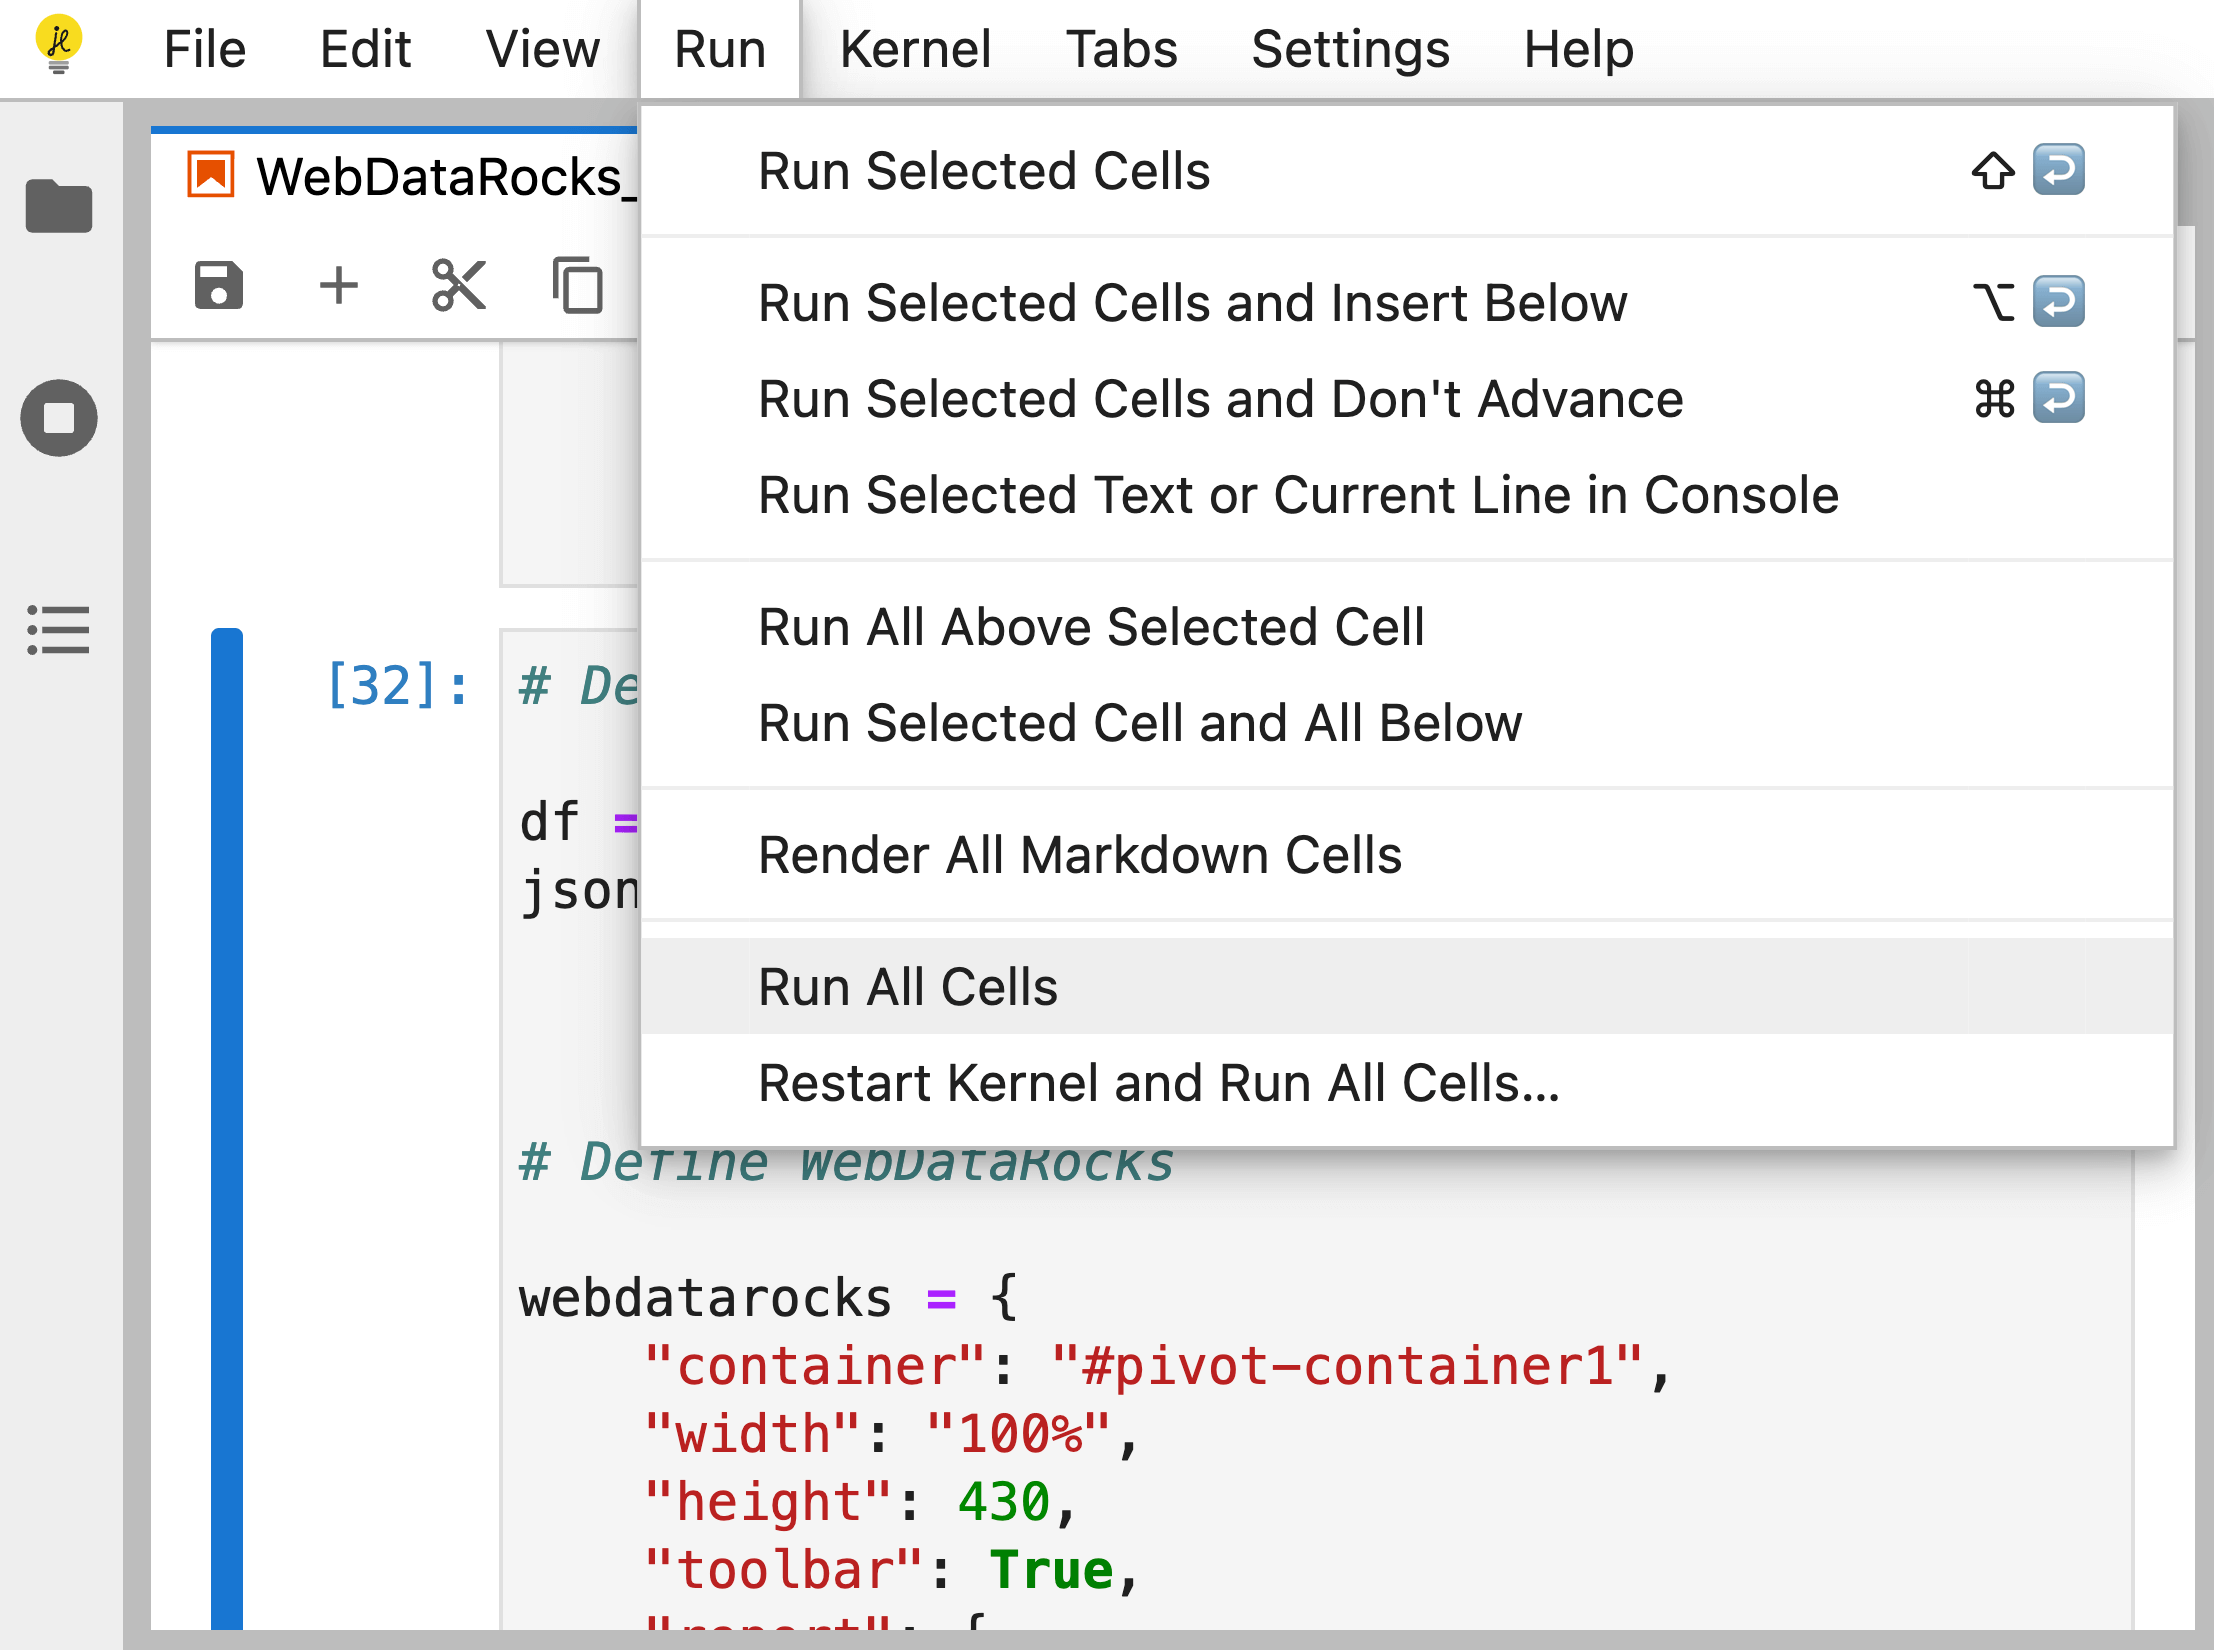
The pivot table component will be rendered as an output of the cell where the pivot function is called.
Run a Jupyter project with WebDataRocks sample from GitHub
Step 1. Download or clone our sample project from GitHub:
git clone https://github.com/WebDataRocks/pivot-jupyter-notebook/
Step 2. Start the notebook server. You can do it in the following ways:
- From the Anaconda Navigator.
- From the command line.
- Using the web version.
Step 3. Import the WebDataRocks_in_Jupyter_Notebook.ipynb file into the Jupyter working directory.
Step 4. Run the code in the notebook’s cells by selecting Run > Run All Cells. You can also run the cells separately, one after another.
The pivot table component will be rendered as an output of the cell where the pivot function is called.
Troubleshooting
If you run into any issues during the integration, please create an issue on our GitHub.